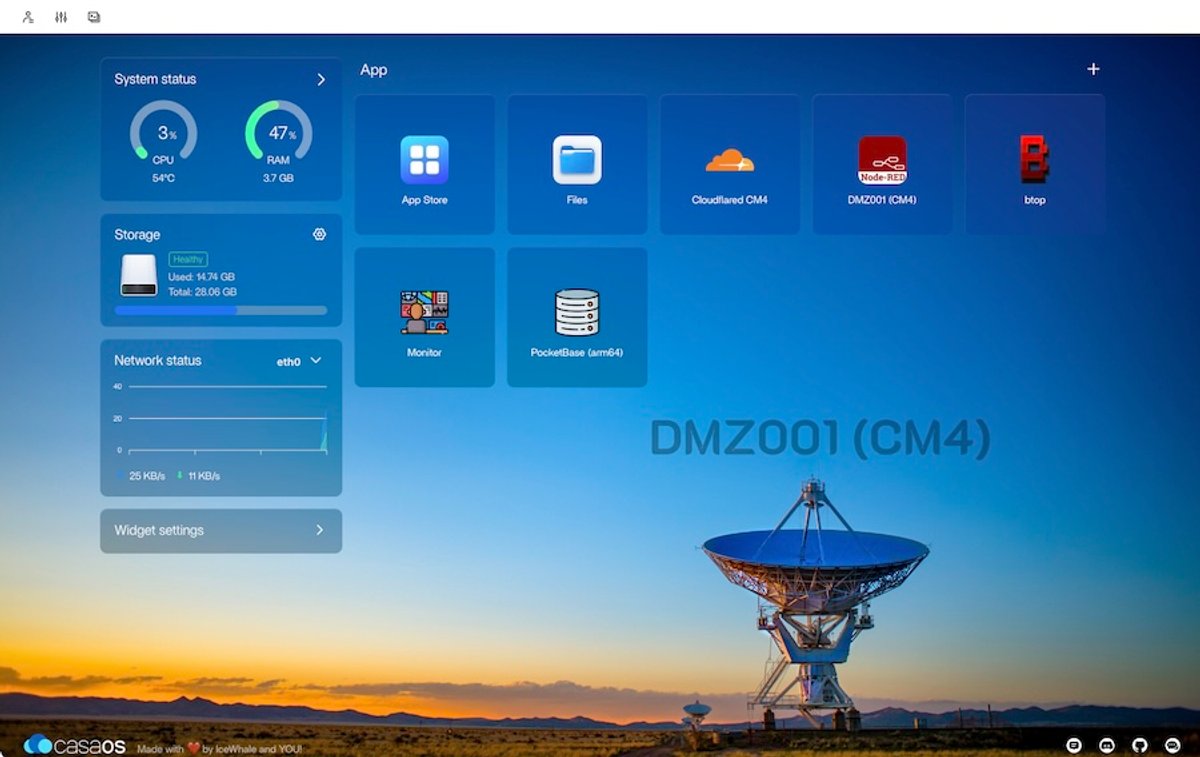
Once our hardware and networking were set up, the next job in our HomeLab was finding a way to manage Docker containers that didn't make me want to pull my hair out. I'd tried Portainer, Docker Compose files and raw Docker commands, and none of them felt right for a HomeLab.
CasaOS changed how we deploy and manage services in the lab. This post covers why it became our Docker management tool, how to set it up, and what it has done for us in practice.
The Docker management problem
Before CasaOS, we had several Raspberry Pis running different services, each with its own set of Docker containers. Managing them meant SSHing into each device, remembering which containers ran where, and editing Docker Compose files by hand for every update. There was no single view of resource usage across devices. I also had to explain to team members how to deploy new services, and in practice they didn't.
I spent too many Saturday mornings working out why a service was down, only to find it was running on a different Pi than I remembered, or the container had crashed without my noticing. I wanted a way to manage our growing set of services that didn't require a PhD in Docker orchestration.
What CasaOS is
CasaOS is what I wish Docker management had always been. It doesn't try to be Kubernetes for the home. It's designed for self-hosted applications and HomeLab setups.
Its main features:
- A clean, modern web interface
- A one-click app store with hundreds of pre-configured applications
- Real-time CPU, memory and storage monitoring
- A built-in file browser with upload and download
- Multi-device support, so you can manage several CasaOS instances from one interface
- ARM optimisation, which suits the Raspberry Pi and other SBCs
What I value most is that it handles Docker's complexity while keeping the interface approachable for anyone on the team. I can hand a team member a CasaOS URL and say "deploy this service for the client demo," and they can do it. No amount of Docker documentation ever got us that.
Installation
Installing CasaOS is simple. On any Ubuntu or Debian-based system (including Raspberry Pi OS), it's one command:
curl -fsSL https://get.casaos.io | sudo bash
The installer sets up Docker (if it isn't already installed), the CasaOS system services and the web interface, and does the initial configuration.
After installation, the web interface is at http://[device-ip]:80. With our ZeroTier setup, I can manage any of our Pis from anywhere using their ZeroTier IPs.
I was skeptical of "curl | bash" installers at first. CasaOS is open source, though, so you can read the installation script before running it, and that plus the active community development convinced me to try it.
The interface
The interface is clean and intuitive, and it's pleasant to use. We liked it from the first login.
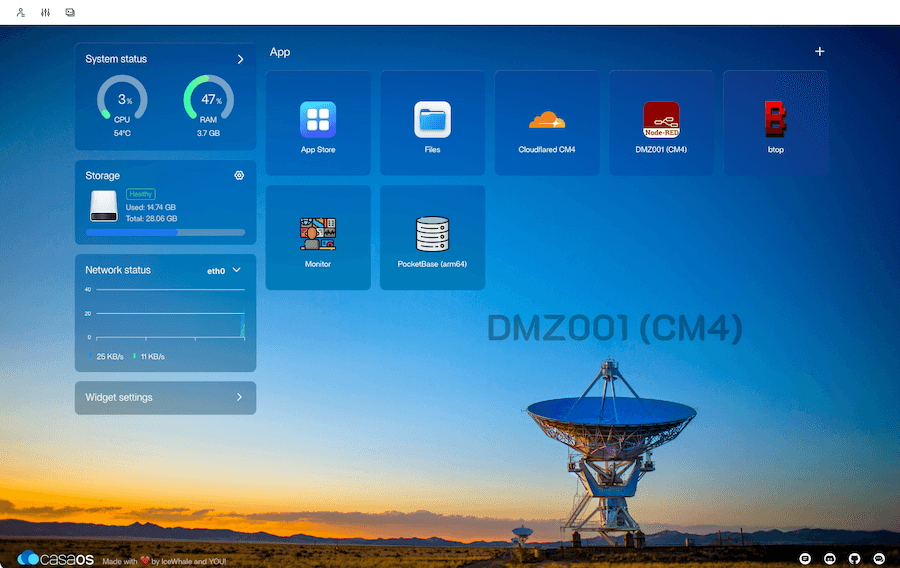
The main dashboard shows system health at a glance: CPU, RAM and storage usage as graphs, quick links to your running applications, network upload and download speeds with connection info, and disk usage across all mounted drives.
The app store
The app store is where CasaOS is strongest. You don't have to write Docker Compose files or hunt for the right container images. You pick from a curated store of hundreds of applications and deploy with a single click.
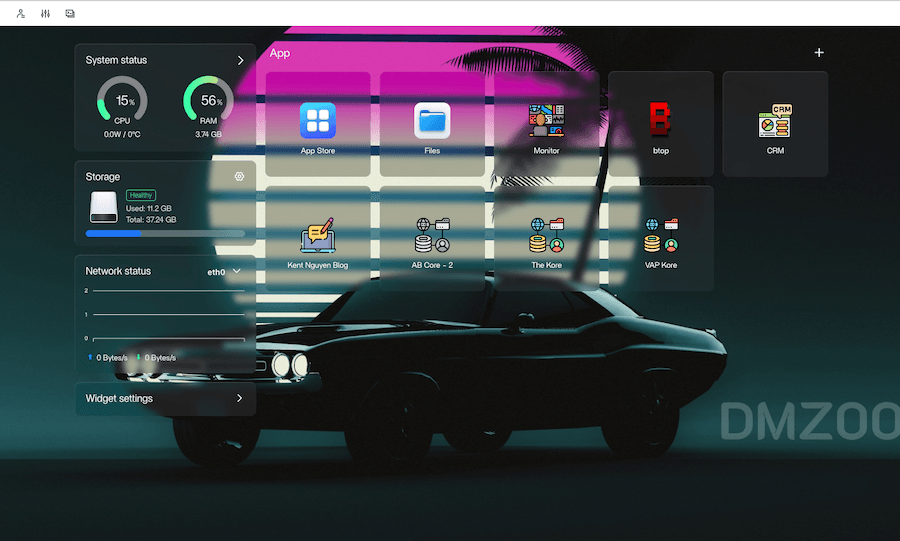
Categories include media servers (Plex, Jellyfin), home automation (Home Assistant, Node-RED), dev tools (GitLab, Code Server), databases (PostgreSQL, Redis, MongoDB), monitoring (Grafana, Uptime Kuma), file management (Nextcloud, Syncthing), and even AI/ML tools (Jupyter, local LLM servers).
Each application comes with Docker settings already tuned for ARM or x86, automatic port management, volume mapping for persistent data, and environment variable templates.
How we use it at Alpha Bits
This is how CasaOS is spread across our distributed HomeLab.
Pi-Main (primary services)
- Directus: our headless CMS (custom Docker deployment)
- Uptime Kuma: service monitoring and alerting
- FileBrowser: web-based file management
- Watchtower: automatic container updates
Pi-Data (database and analytics)
- PostgreSQL: primary database for applications
- Redis: caching and session storage
- Grafana: metrics visualization
- InfluxDB: time-series data for IoT sensors
Pi-Edge (IoT and automation)
- Node-RED: visual programming for IoT workflows
- Mosquitto MQTT: message broker for IoT devices
- Home Assistant: home automation platform
- Zigbee2MQTT: Zigbee device integration
I manage all of these from a single browser tab and switch between devices over our ZeroTier network.
Advanced features
Custom app installation
The app store covers most needs, but sometimes you have to deploy a custom application. CasaOS has a Docker Compose import feature for this. You can import existing Docker Compose files, create custom app definitions, share configurations across devices and keep your deployments under version control.
Resource management
CasaOS shows per-container CPU and memory usage, network traffic, storage usage and historical performance data. This has helped us tune our Pi deployments and find applications that use too many resources.
Backup and migration
Moving a service between devices is simple: export the application configuration, back up the persistent data volumes, import on the target device and update the DNS records. We've done this several times when upgrading hardware or moving services around for better performance.
Lessons learned
1. Plan your storage. CasaOS makes deploying applications easy, so think about where the data will live. We use USB SSDs for critical data and keep SD cards for the OS and temporary files.
2. Use the built-in file manager. The file browser is more capable than I expected. You can upload files, edit configurations and manage backups without SSH, which has made the system much easier for non-technical team members.
3. Watch resource usage. Raspberry Pis have limited resources. Use CasaOS's monitoring to spot memory leaks, CPU spikes or storage issues before they cause trouble.
4. Use the community. The CasaOS community is active and helpful. If an application isn't in the official store, someone has probably made a custom configuration you can use.
5. Keep it simple. Don't try to run everything on one device. CasaOS makes it easy to spread services across several Pis, which improves performance and isolates failures.
Performance impact
I worried that CasaOS would eat a lot of resources on our Raspberry Pis. It uses about 200MB of RAM for the system and about 500MB of storage for the base installation. CPU use is negligible during normal operation, and the web interface adds minimal network overhead.
That's a fair price for what it saves us in deployment and maintenance time.
How CasaOS compares
I've used Portainer, the raw Docker CLI and Docker Compose files extensively. Portainer has more enterprise features but a steeper learning curve. Raw Docker gives you more control but isn't team-friendly. Docker Compose is great for version control but has no GUI.
For a HomeLab, CasaOS has the right balance. It's visual enough that non-technical team members can deploy services, and capable enough to handle custom Docker Compose imports and multi-device management.
What's next
With CasaOS managing our containers, we can focus on the applications themselves. The next post covers the services behind our daily operations: Node-RED for automation, databases for data management, and the other tools we use in the HomeLab. It includes deployment strategies, configuration tips and how the applications work together.
Have questions about setting up CasaOS or deploying a particular container? We've been running this stack for over a year, and we're happy to share configs or troubleshooting tips in the comments or via the blog.
Next up: "Essential HomeLab Applications: Node-RED, Databases, and the Tools That Matter"